Continuous Integration with Jenkins Pipeline - Part 4
In previous post, I have discussed on running target app in local machine and setting up Jenkins slave SSH key in GitHub. In this post I will discuss on creating Jenkins pipeline and GitHub webhook to automate the CI/CD process.
Need
- Jenkins Master SSH access to Jenkins Slave
- Jenkins Slave SSH access to Application repository in GitHub
- Jenkins Slave SSH access to app server
- Git SSH Clone url for application repository in GitHub
- Jenkins Slave SSH key ID from Jenkins Credentials
Create GitHub Webhook for Jenkins
Login to Github and click on the appropriate GitHub app repository. Click on the settings and provide account password if asked. Then follow the screenshots,
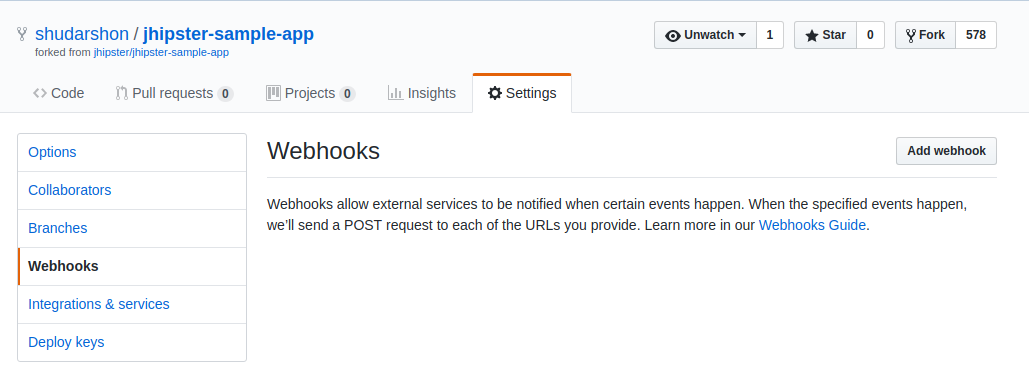 GitHub Webhook Settings
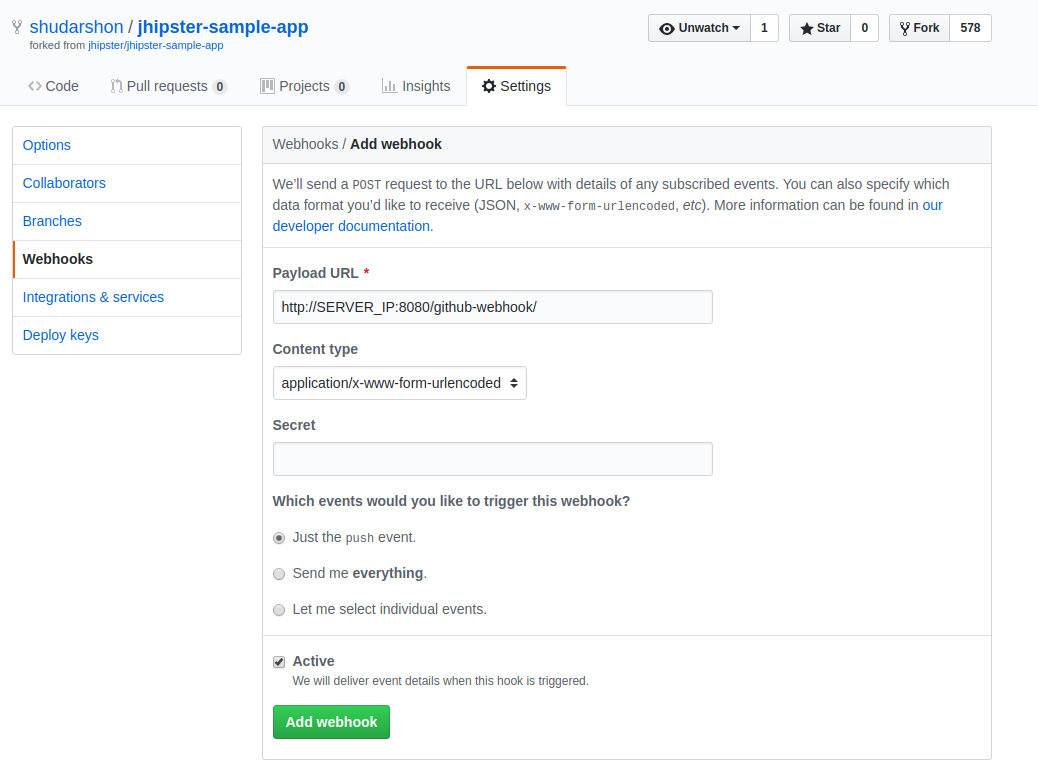 Add Jenkins Server URL with github webhook directory name in the URL
If appropriate URL is provided then there will be green mark beside the URL. Adding this webhook means that if any git push operation is successfully retrieved by GitHub on this specific application repository then it will trigger jenkins build job.
Create Jenkins Pipeline to perform continuous integration
Login to Jenkins with appropriate username and password. Then follow the screenshots to add pipeline job and script,
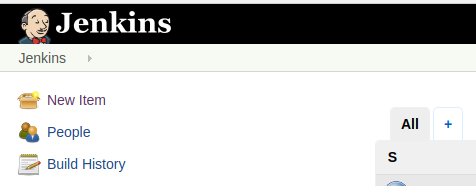 Create New Item from Jenkins Dashboard
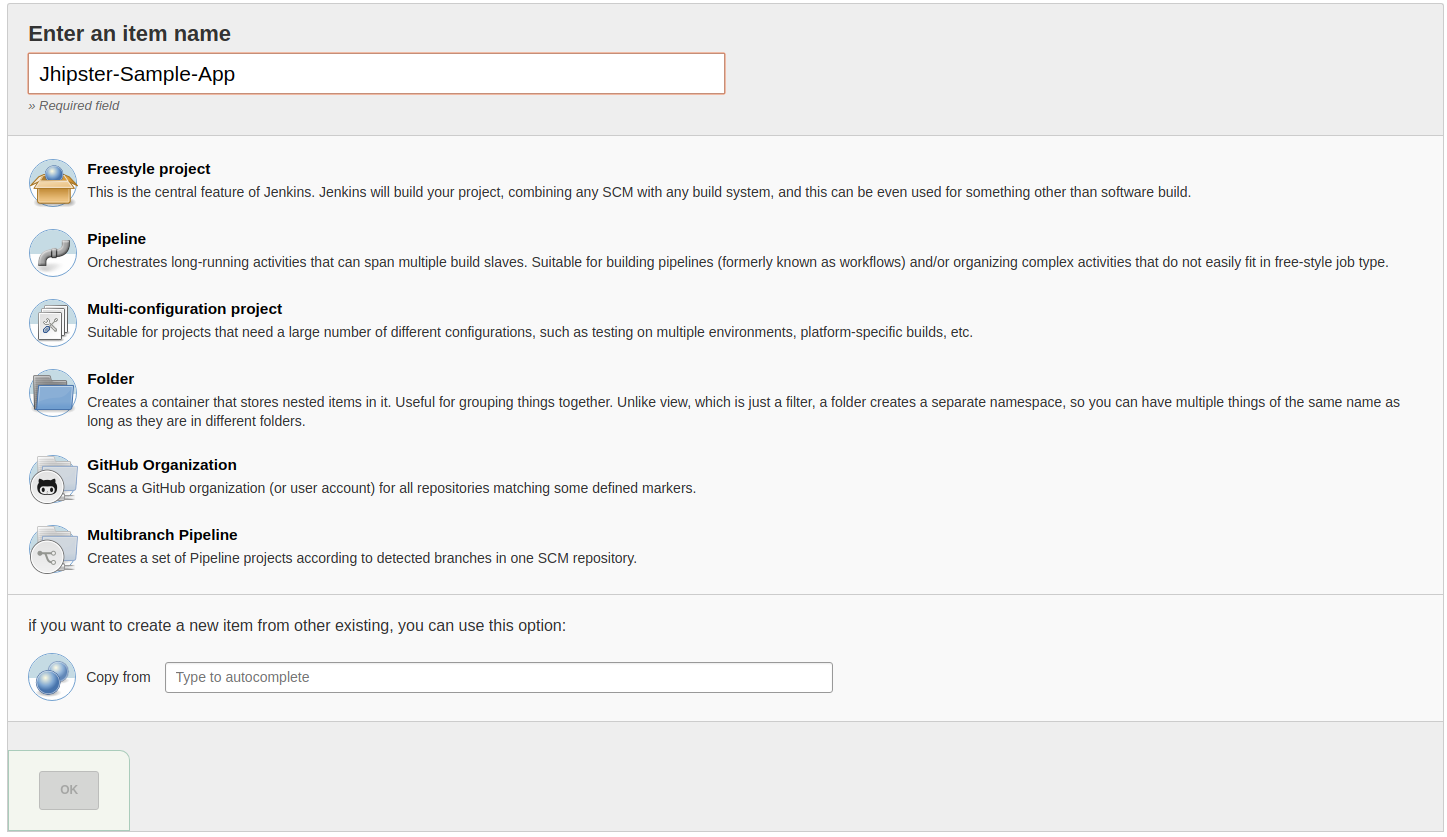 Choose pipleline option and create Jhipster App pipeline
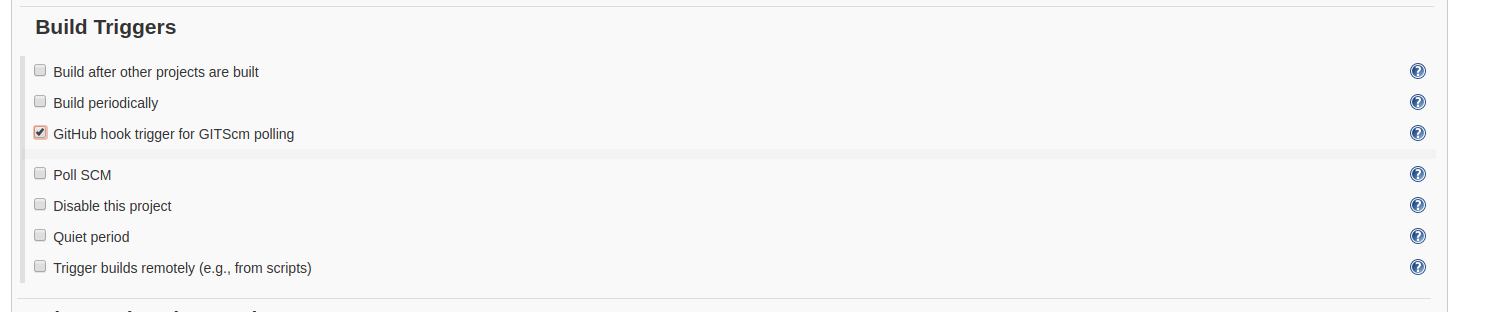 Allow Jenkins to Build from GitHub webhook
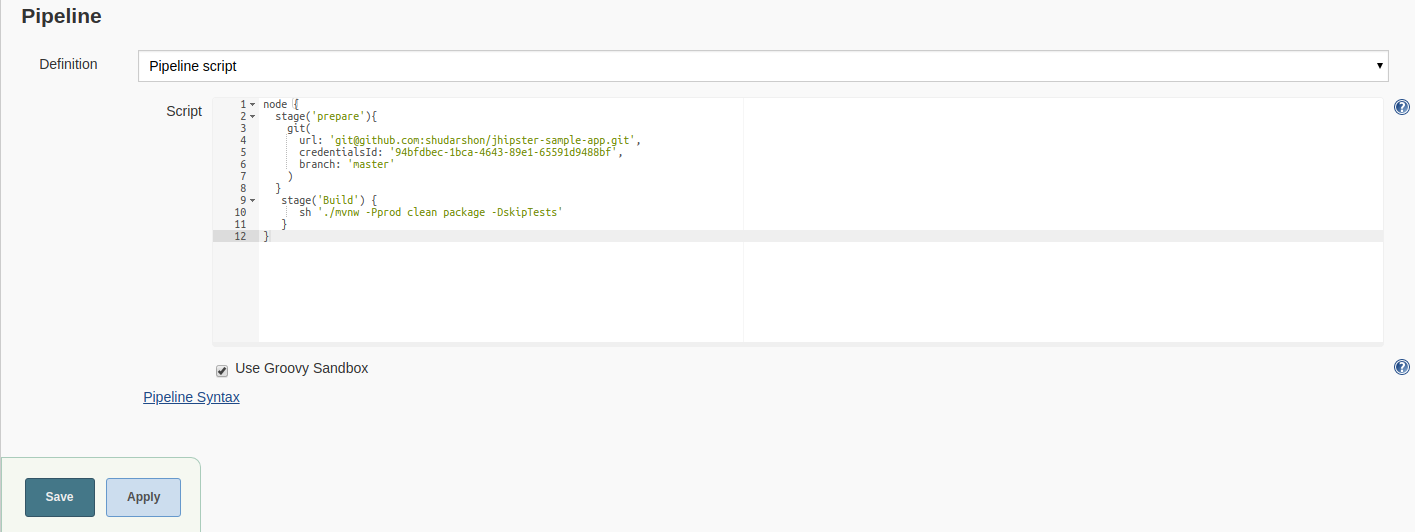 Allow Jenkins to run pipleline script
The pipeline script is available below,
1
2
3
4
5
6
7
8
9
10
11
12
13
node {
  stage('prepare'){
    git(
      url: 'git@github.com:shudarshon/jhipster-sample-app.git',
      credentialsId: '94bfdbec-1bca-4643-89e1-65591d9488bf',
      branch: 'master'
    )
  }
   stage('Build') {
      sh './mvnw -Pprod clean package -DskipTests'
   }
}
Now build the project from jenkins dashboard and check the console output. It should return a successful build message.
Jenkins pipeline to perform continuous delivery
Following the above script when Jenkins will start building a job then it will take a git pull first and perform the actual build command. But we can add more stages to perform auto deployment, backup, sending notifications etc. Since we already discussed that app server will serve the application using Tomcat so we need to deliver the build file from Jenkins slave server’s$JENKINS_HOME/workspace/JOB_NAME/taget/*.war path to app servers $TOMCAT_HOME/webapps directory. Again, we made sure that Jenkins slave can successful SSH into app server here. Now lets see how the new pipeline script looks like,
1
2
3
4
5
6
7
8
9
10
11
12
13
14
15
16
17
18
19
20
21
22
node {
  stage('prepare'){
    git(
      url: 'git@github.com:shudarshon/jhipster-sample-app.git',
      credentialsId: '94bfdbec-1bca-4643-89e1-65591d9488bf',
      branch: 'master'
    )
  }
   stage('Build') {
      sh './mvnw -Pprod clean package -DskipTests'
   }
   stage('Deploy') {
      sh 'scp /var/lib/jenkins/workspace/JOB_NAME/target/*.war ubuntu@APP_SERVER_IP:/home/ubuntu/ROOT.war'
      sh '
        ssh ubuntu@APP_SERVER_IP << EOF
          sudo -u tomcat cp /home/ubuntu/ROOT.war /opt/tomcat/webapps/ROOT.war
          sudo systemctl stop tomcat.service
          sudo systemctl start tomcat.service
        EOF
      '
   }
}
Replace previous pipeline script with the above one. Although there are many mature ways to perform distributed build, CI/CD with Jenkins but I have implement with the simplest one, There are also other stages like slack notifications, build report email, rollback, canary deployment so on. I hope these series of blog post will give you some idea about Jenkins operation.
Comments