Continuous Integration with Jenkins Pipeline - Part 2
In previous post, I have discussed on setting up Jenkins and Jenkins user SSH key configuration with NodeJs plugin installation. In this post I will discuss on setting up master-save relation between Jenkins Master server and Jenkins Slave server. Moreover, credential management in Jenkins will be also illustrated.
Need
- Jenkins Master Server (Linux)
- Jenkins Slave Server (Linux)
- App server (Another Linux Server)
- GitHub Account
Configure Jenkins Slave Server
Since each task in Jenkins application is run as jenkins user in the system so in order to communicate with other slave servers there must be jenkins user for running a task on behalf of Jenkins Master. In a nutshell, every Jenkins slave server must need a jenkins user for distributed builds. Now login to Jenkins slave server and install java. Java installing commands can be found from the previous post of this series. Next, create jenkins user using following commands
1
2
3
4
5
6
ubuntu@jenkins-slave:~$ sudo useradd -m -d /var/lib/jenkins jenkins -s /bin/bash
ubuntu@jenkins-slave:~$ sudo mkdir -p /var/lib/jenkins
ubuntu@jenkins-slave:~$ sudo su - jenkins
jenkins@jenkins-slave:~$ ssh-keygen -t rsa -b 4096
jenkins@jenkins-slave:~$ touch .ssh/authorized_keys
jenkins@jenkins-slave:~$ exit
Above command will create a jenkins user with SSH keypair in Jenkins slave. There is an additional file called authorized_keys in .ssh directory. In this file we will paste the public key of Jenkins Master server. This will allow Jenkins Master to connect with Jenkins Slave over SSH. So now, collect the SSH public key of Jenkins Master server.
1
2
3
ubuntu@jenkins-master:~$ sudo su - jenkins
jenkins@jenkins-master:~$ cat .ssh/id_rsa.pub
jenkins@jenkins-master:~$ exit
Now copy the SSH public key of Jenkins Master Server and then paste this key in authorized_keys file of Jenkins Slave server. If you are using AWS, then make sure that SSH inbound rule is allowed in Jenkins Slave security group to allow SSH from Jenkins Master. Better you allow the private IP of Jenkins Master EC2 instance in SSH inbound rule.
1
2
3
ubuntu@jenkins-slave:~$ sudo su - jenkins
jenkins@jenkins-slave:~$ vim .ssh/authorized_keys #paste the jenkins master ssh public key here then save and quit
jenkins@jenkins-slave:~$ exit
Now test SSH connection from Jenkins Master server. The following command is run as jenkins user in the server.
1
ubuntu@jenkins-master:~$ sudo -u jenkins ssh jenkins@JENKINS_SLAVE_SERVER_IP
After gathering SSH public key from Jenkins Master we will gather SSH public and private key of Jenkins Slave server. Slave server SSH public key will serve following purposes:
- Using the public key we will connect slave server to pull code from SCM (GitHub).
- Public key will allow Jenkins Slave to deploy to remote application server. (via SSH)
- Private key will be added in Jenkins Credentials which will allow Jenkins to automatically connect from Slave machine to app server.
So now, collect the SSH public key of Jenkins Slave server.
1
2
3
4
ubuntu@jenkins-slave:~$ sudo su - jenkins
jenkins@jenkins-slave:~$ cat .ssh/id_rsa.pub  #public key
jenkins@jenkins-slave:~$ cat .ssh/id_rsa      #private key
jenkins@jenkins-slave:~$ exit
Now we would want to save Jenkins Master & Slave node SSH public keys in Jenkins application. To implement this, login to Jenkins at http://your_server_ip:8080 and provide username/password. Next go to Jenkins > Credentials > System > Global Credentials > Add Credentials. Next select SSH username with private key option and configure as following,
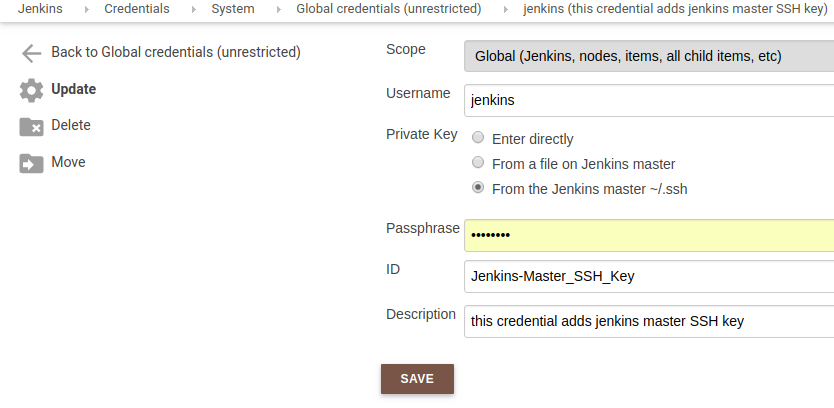 Provide Jenkins Master Server SSH Public Key
Adding Jenkins Slave SSH public key is a little bit different. Instead of pointing to .ssh folder of Jenkins user we will enter it directly. Since we have collected it already above so lets add this private key as following
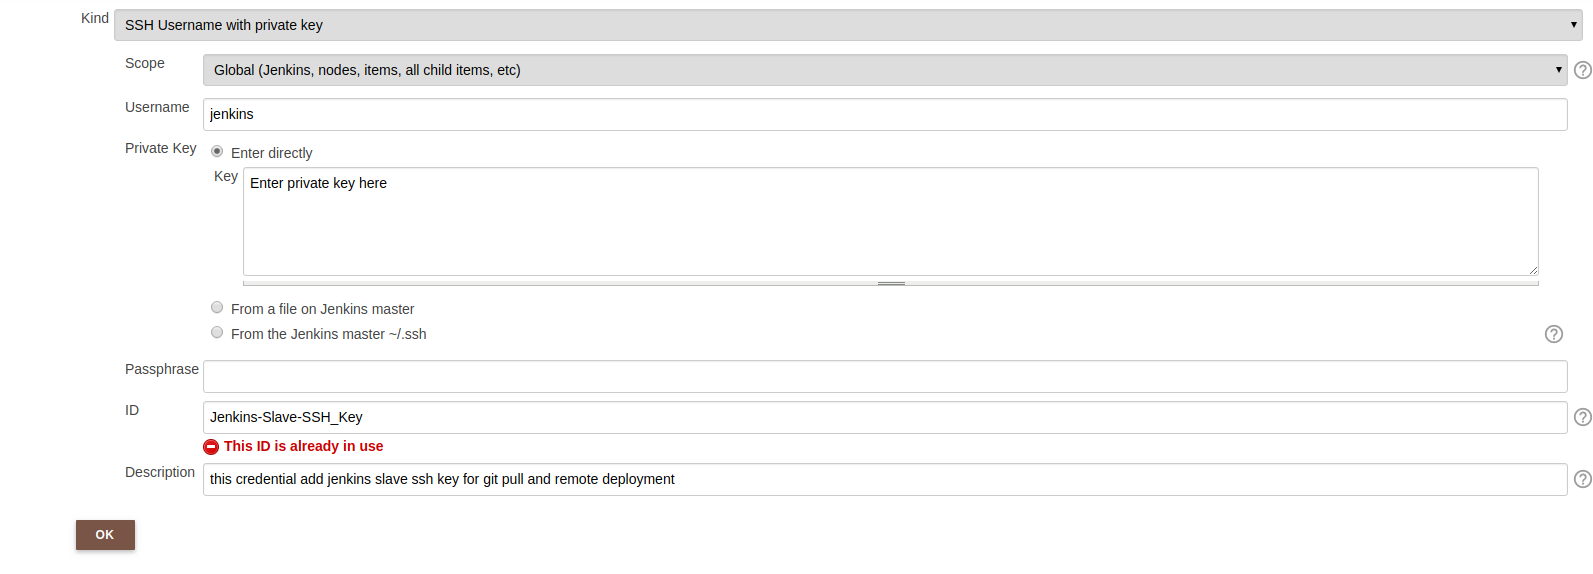 Provide Jenkins Slave Server SSH Private Key
Ignore the red notification because that ID is already used in my Jenkins application. Now we will change SSH configuration in Jenkins Slave just as we did in Jenkins master as following
1
2
3
4
ubuntu@jenkins-slave:~$ sudo vim /etc/ssh/ssh_config #edit the config file

StrictHostKeyChecking no		                      #option already in the file
UserKnownHostsFile=/dev/null 	                    #add this line below the previous line
In the next part, I will discuss on app server configuration with Tomcat and Jenkins Slave and APP server SSH connection.
Comments